First-Hand Report & 12 Practical Tips for Your Own Visit
Last updated: 21 May 2025
1 | Why I Wrote This
I grew up with Nintendo. Born in 1979, I was five when the Famicom transformed Japanese living rooms forever. When that lottery email landed—“You won the 17 Oct 2024 12:00 slot”—I booked a one-night trip to Kyoto, determined to spend half a day inside the brand-new Nintendo Museum. It turned out to be equal parts nostalgia hit and design masterclass, and I want to share what made my visit so rewarding.
2 | No-Spoiler Impressions
A “Know → Play” Flow
The upstairs exhibits are for learning; the ground-floor play area lets you touch history. It’s like the Cup Noodles Museum’s perfect blend of recipe and DIY—except here, it’s with Mario, Zelda, and more.
Minimal Captions, Maximum Imagination
Most items are simply labeled by year, leaving you to fill in the blanks with your own memories or guesses. It means every visitor’s journey is unique, shaped by what they remember and love.
Nintendo’s Tangible Pride
From pre-Famicom toys to the Switch, the curation proudly says, “Our products speak for themselves.” Walking through decades of creativity is strangely energizing—you leave wanting to create something fun yourself.
The Play Zone Revives Classics
Giant Famicom controllers, updated Zapper battles, card game stations—old-school hardware mashed up with modern tech brings out everyone’s inner kid. You’ll see parents, kids, and tourists all cheering each other on.
In short: It’s less a museum about play and more a playground about history.
3 | My Visit Timeline (12:00 Ticket, Weekday)
| Time | What I Did | Why It Mattered |
|---|---|---|
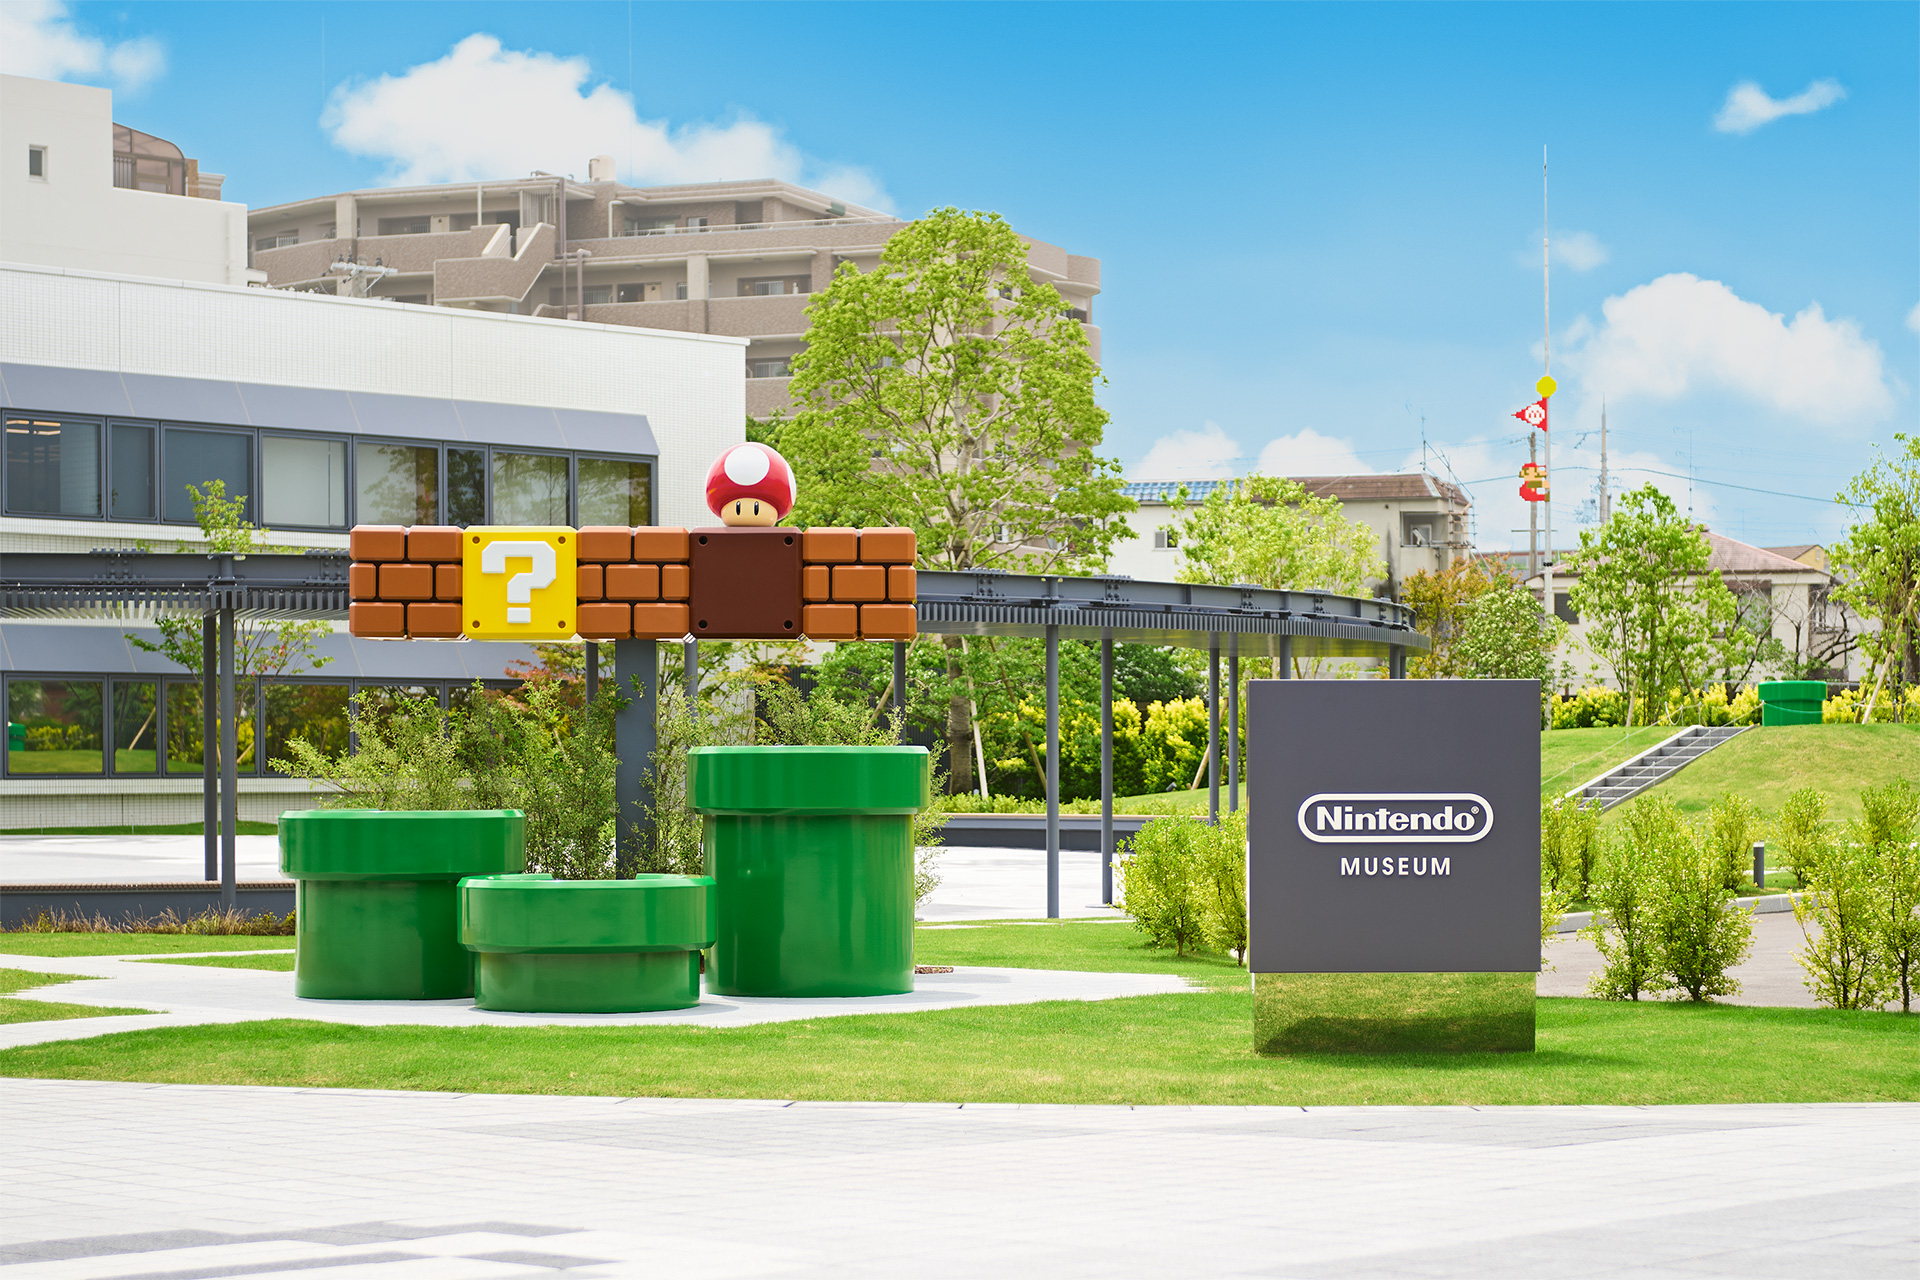
| 11:45 | Arrived at Kintetsu Ogura Station (the sign says “Nintendo Museum-mae”) | Closest route, instant photo-op |
| 11:50 | Stored suitcase in outdoor Game Boy lockers | Only lockers on site—do this before your entry window |
| 12:02 | Scanned QR code, went to Info Desk to book paid “Hanafuda” workshop | Same-day slots fill up fast—already too late for me |
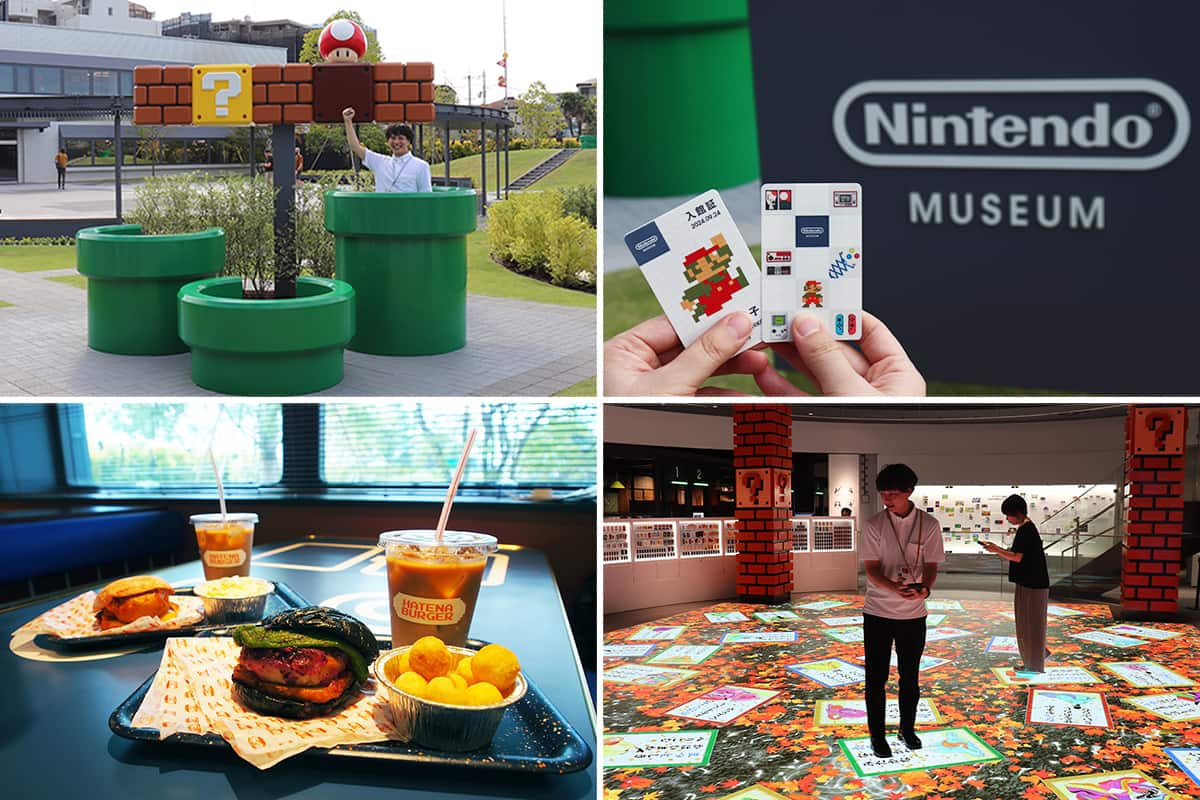
| 12:10 | Shopped at BONUS STAGE store—got Controller Cushion & keyrings | Hot items can sell out before 2pm |
| 12:30 | Early lunch at HATENA BURGER (no queue yet) | By 1–2pm, the line was 30 minutes |
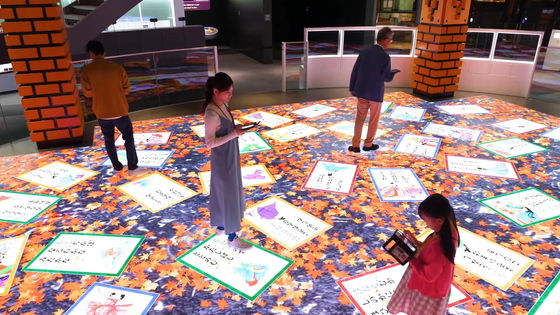
| 13:00 | Joined exhibit queue (10 min, mural walls) | Only queue the first time; re-entries skip the line |
| 13:15 | Headed straight to 1F play zone | Waits were short; later reached 40 minutes |
| 14:15 | Coffee & retro-book break in the library corner | Quiet seats, Mario artbooks—the perfect recharge |
| 14:40 | Used shortcut to revisit 2F exhibits | No line the second time |
| 16:30 | Final merch sweep, outdoor photos, left | Six hours went by fast—could’ve stayed longer |
4 | Twelve Tips You’ll Actually Use
1. Ride Kintetsu, not JR.
Kintetsu Ogura is the nearest station, and the sign literally says “Nintendo Museum-mae.” (Photo op!)
2. Arrive 15 minutes early for lockers.
Only outdoor Game Boy lockers are available—get one before your timed slot starts.
3. Info Desk first if you want paid attractions.
Workshops like “Play Hanafuda / Make Hanafuda” can only be booked onsite, and slots vanish early. Remember, your ticket gives you a three-hour window.
4. Shop for limited items early.
Keychains, cookie tins, and plush cushions can sell out by mid-afternoon. Carrying the giant cushion all day? Totally fine—makes for great photos!
5. Eat early or late at HATENA BURGER.
At 12:45, I walked right in. By 1:30pm, the line was out the door.
6. Don’t rush the photo spots.
Staff shoot quickly, so come back when crowds thin out—your new merch will make the photos even cooler.
7. There’s only one exhibit queue.
After your initial entry, you can come and go freely.
8. Hit the play zone before the exhibits.
It fills up fastest. Go while you’re full of energy (and coins).
9. Budget your coins.
“Zapper & Scope SP” costs 4/10 coins but is the biggest wow. “Shigureden SP” offers longer play for just 2 coins.
10. Library corner = best break spot.
Plenty of seats, drinks allowed, and vintage Nintendo guides to browse.
11. Go with a friend (or two).
Half the fun is swapping stories and cheering each other on.
12. On the train back, peek at Nintendo HQ.
Between Takeda and Kujō on the Kintetsu Line, you’ll glimpse the main HQ and Dev Centre on the right. Bookmark it on Google Maps!
5 | Parting Thoughts
I expected nostalgia, but I didn’t expect the creative boost from seeing four decades of “let’s try something fun” all in one place. My Controller Cushion now lives by my desk—a goofy, oversized reminder to keep playing with ideas.
If you’ve won a ticket, or you’re stalking the first-come sales page, I hope this guide helps you make the most of your visit. Pack light, plan your coin spend, and give yourself permission to feel like an excited ten-year-old again.
Enjoy your Nintendo life—see you in the play zone!